Restoration
 Where to begin with restoration? Unfortunately, there’s no perfect formula. Best practices vary depending on site conditions, desired future condition, and your capacity. Planning ahead is key. Get started with the Utah State University Research Report on Phragmites restoration, then work through the steps below.

Step 1: Create a restoration plan
Create a site design plan taking topography into consideration – determine whether stabilization will be needed for erosion-prone sites such as shorelines and steep slopes.
Select native plants and/or seed mixes that are appropriate to the site and geographic area. Consider:
- Appropriateness to ecosystem type and geographic area
- Soil type and condition
- Nutrient requirements
- Drainage
- Availability of appropriate plants and seed mixes (if not commercially available, you may need to consider transplanting from another site, harvesting your own seeds or selecting a seed mix that’s as close as possible to your area and ecosystem)
- Your capacity and budget
- Make sure your seed mixes don’t include other invasive plants! See Ontario’s “Grow Me Instead” program for suggested native plant substitutions for common non-native garden plants.
Create a monitoring protocol. Monitoring before and after restoration is critical to demonstrate the effectiveness of your management efforts and to learn what works best at your site.
Plan access to the site in a way that minimizes disturbance as much as possible.
Step 2: Prepare the site
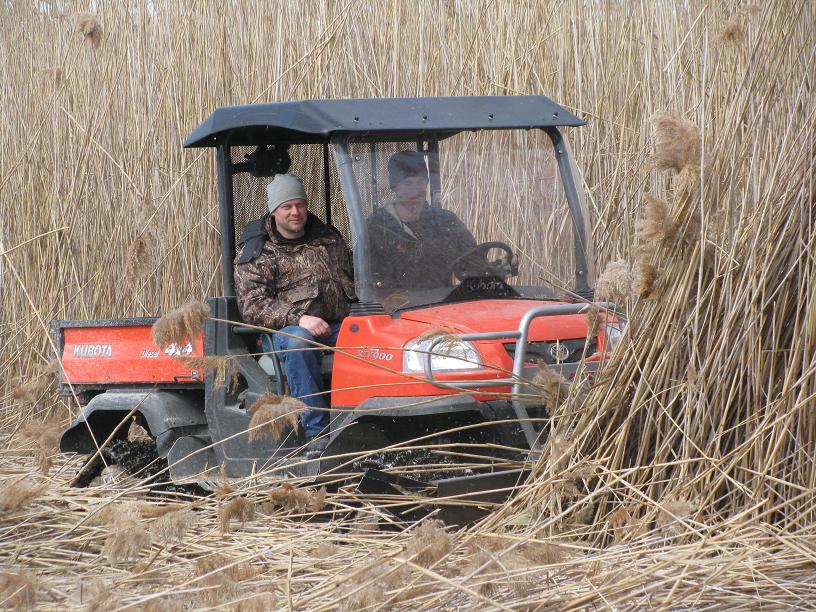
- Remove biomass from the site if possible. Dead Phragmites stalks and root masses can prevent native plants from emerging from the seedbank and make it easier for Phragmites to re-establish. Biomass can be removed by burning or, at smaller scales, manually.
- Conduct baseline monitoring using your pre-determined monitoring protocol
- Determine sanitation protocols to be used at the site to reduce contamination from invasive plants. Identify locations and methods for cleaning equipment before and after visiting the site. Ensure that all staff and/or contractors will be adhering to a sanitation standard (e.g. the Clean Equipment Protocol).
Step 3: Action!
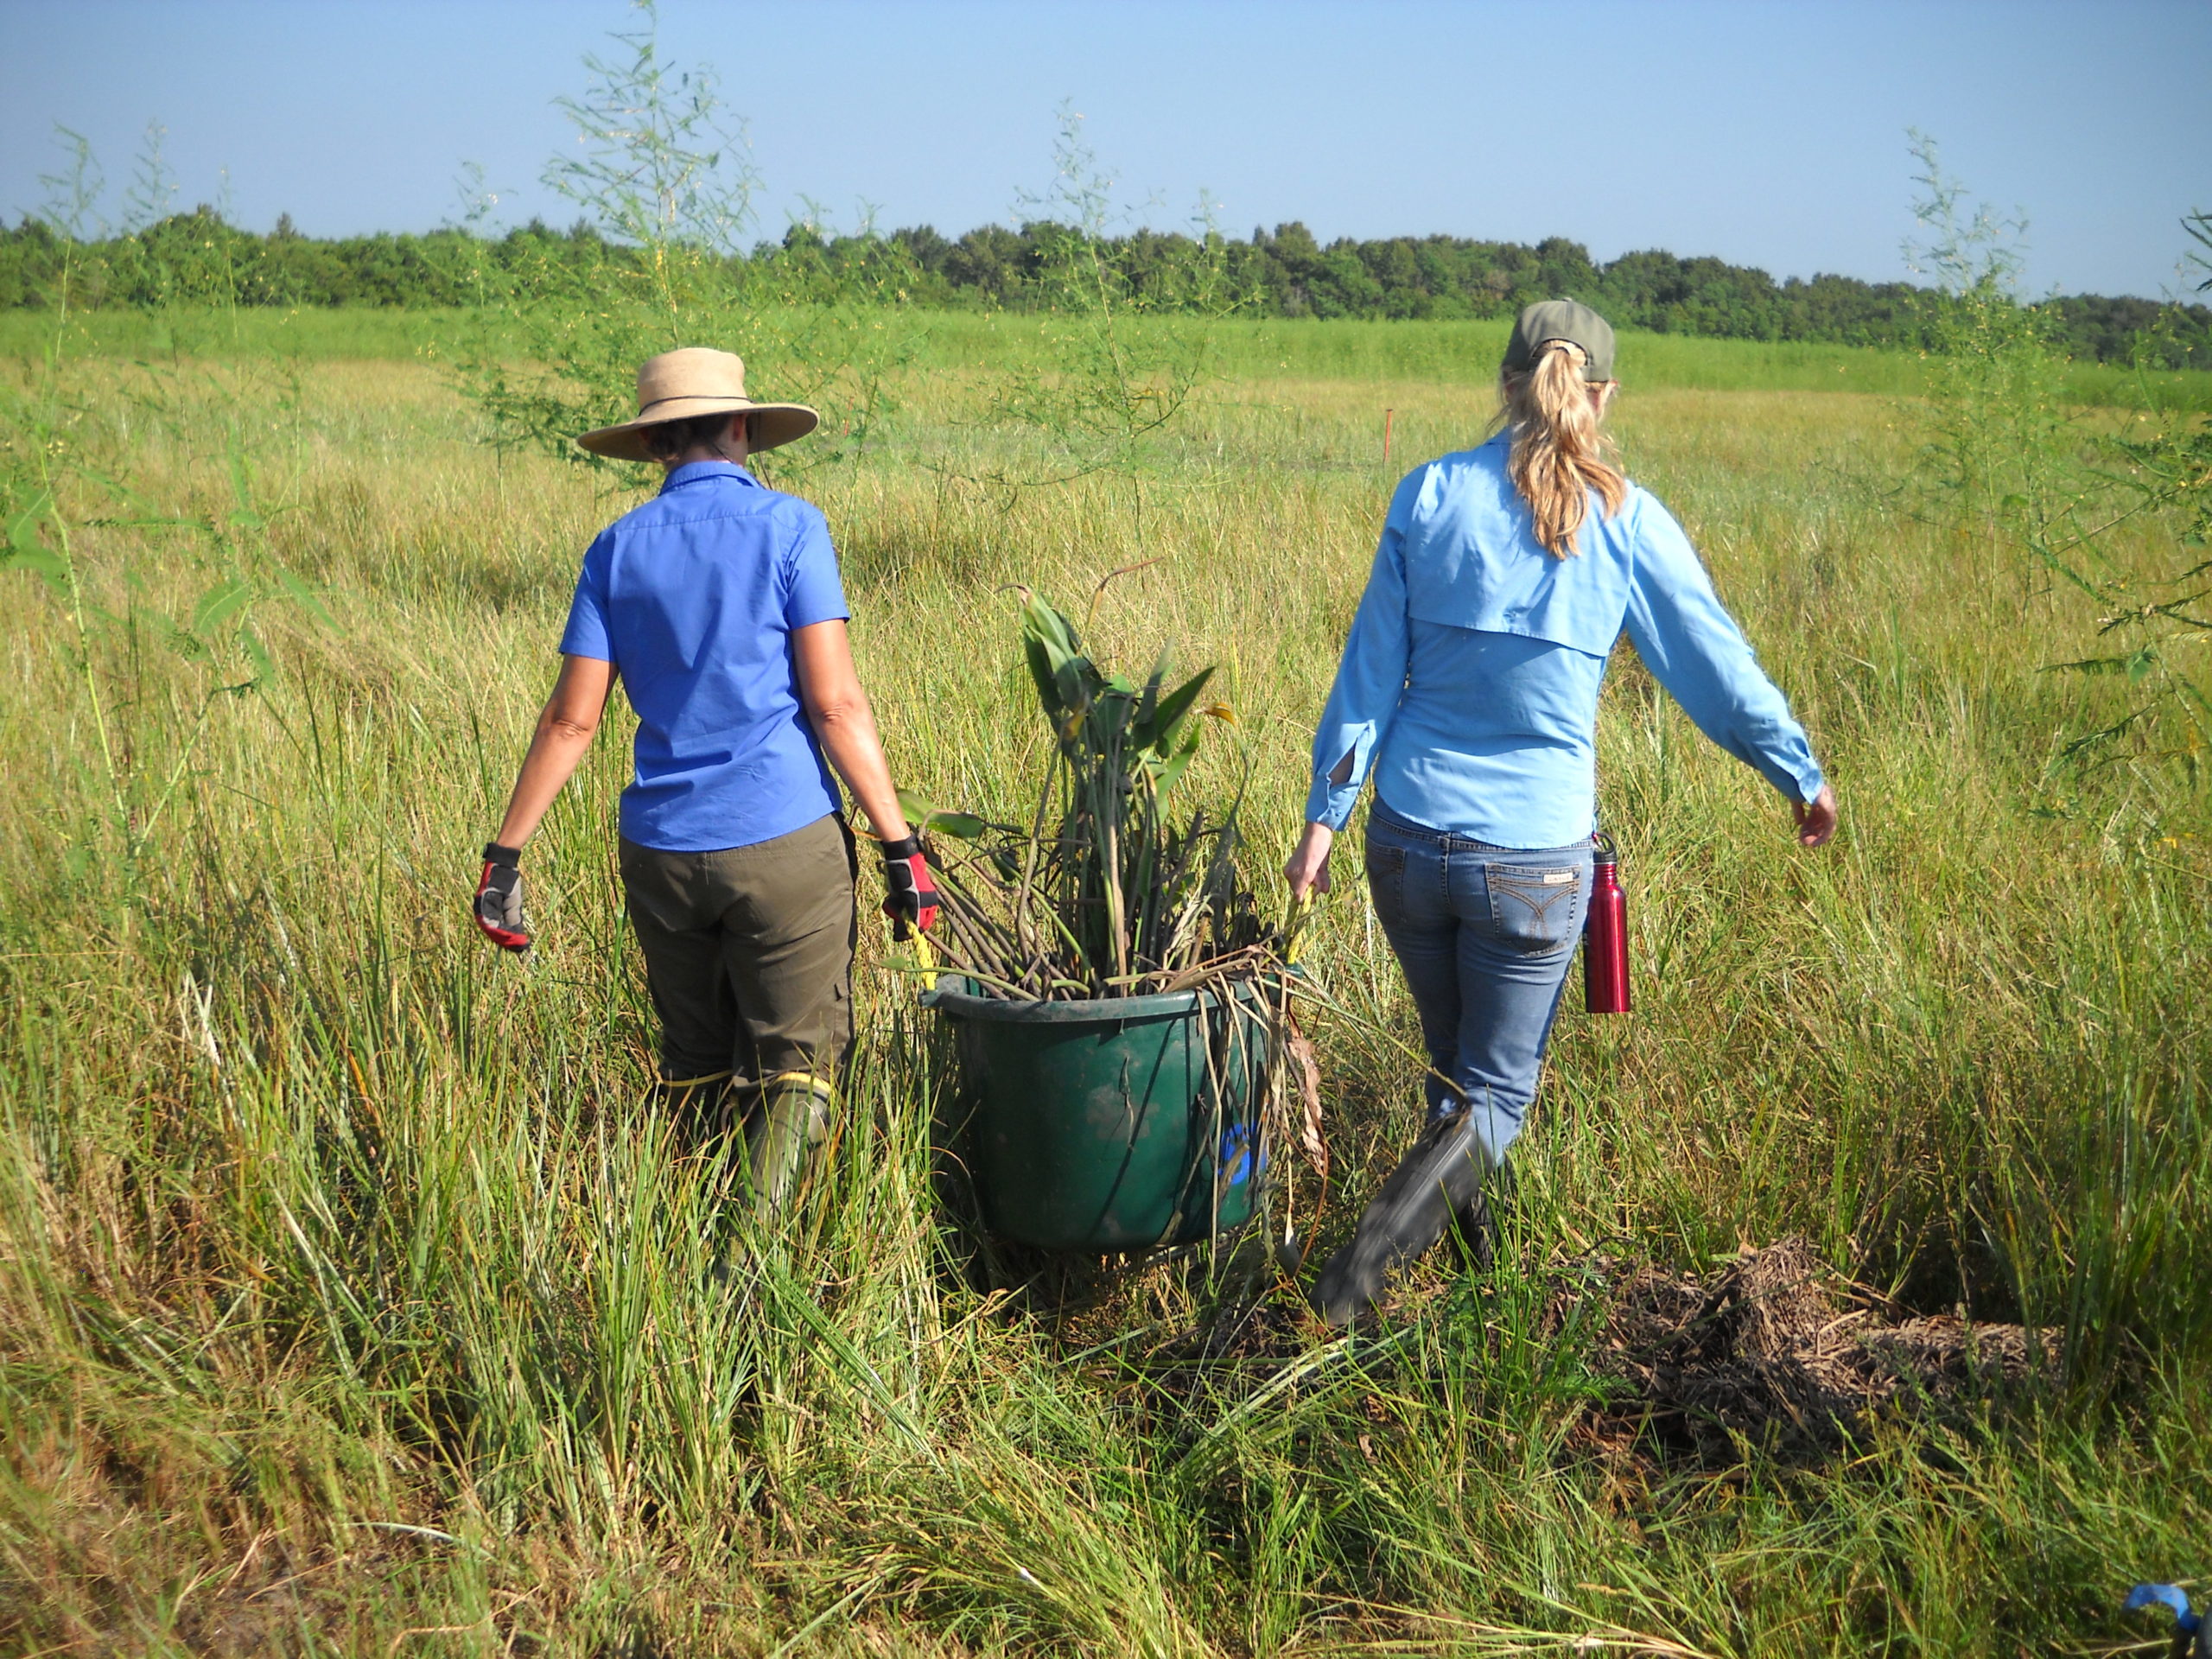
- Execute your restoration actions at the site
- Ensure that all equipment is cleaned before and after visiting the site, including boots and clothing of staff or volunteers
- Take lots of photos and share your hard work on social media, to local news outlets and on your website to communicate that the goal of invasive species management is to restore sites like yours!
Step 4: Monitoring and follow-up
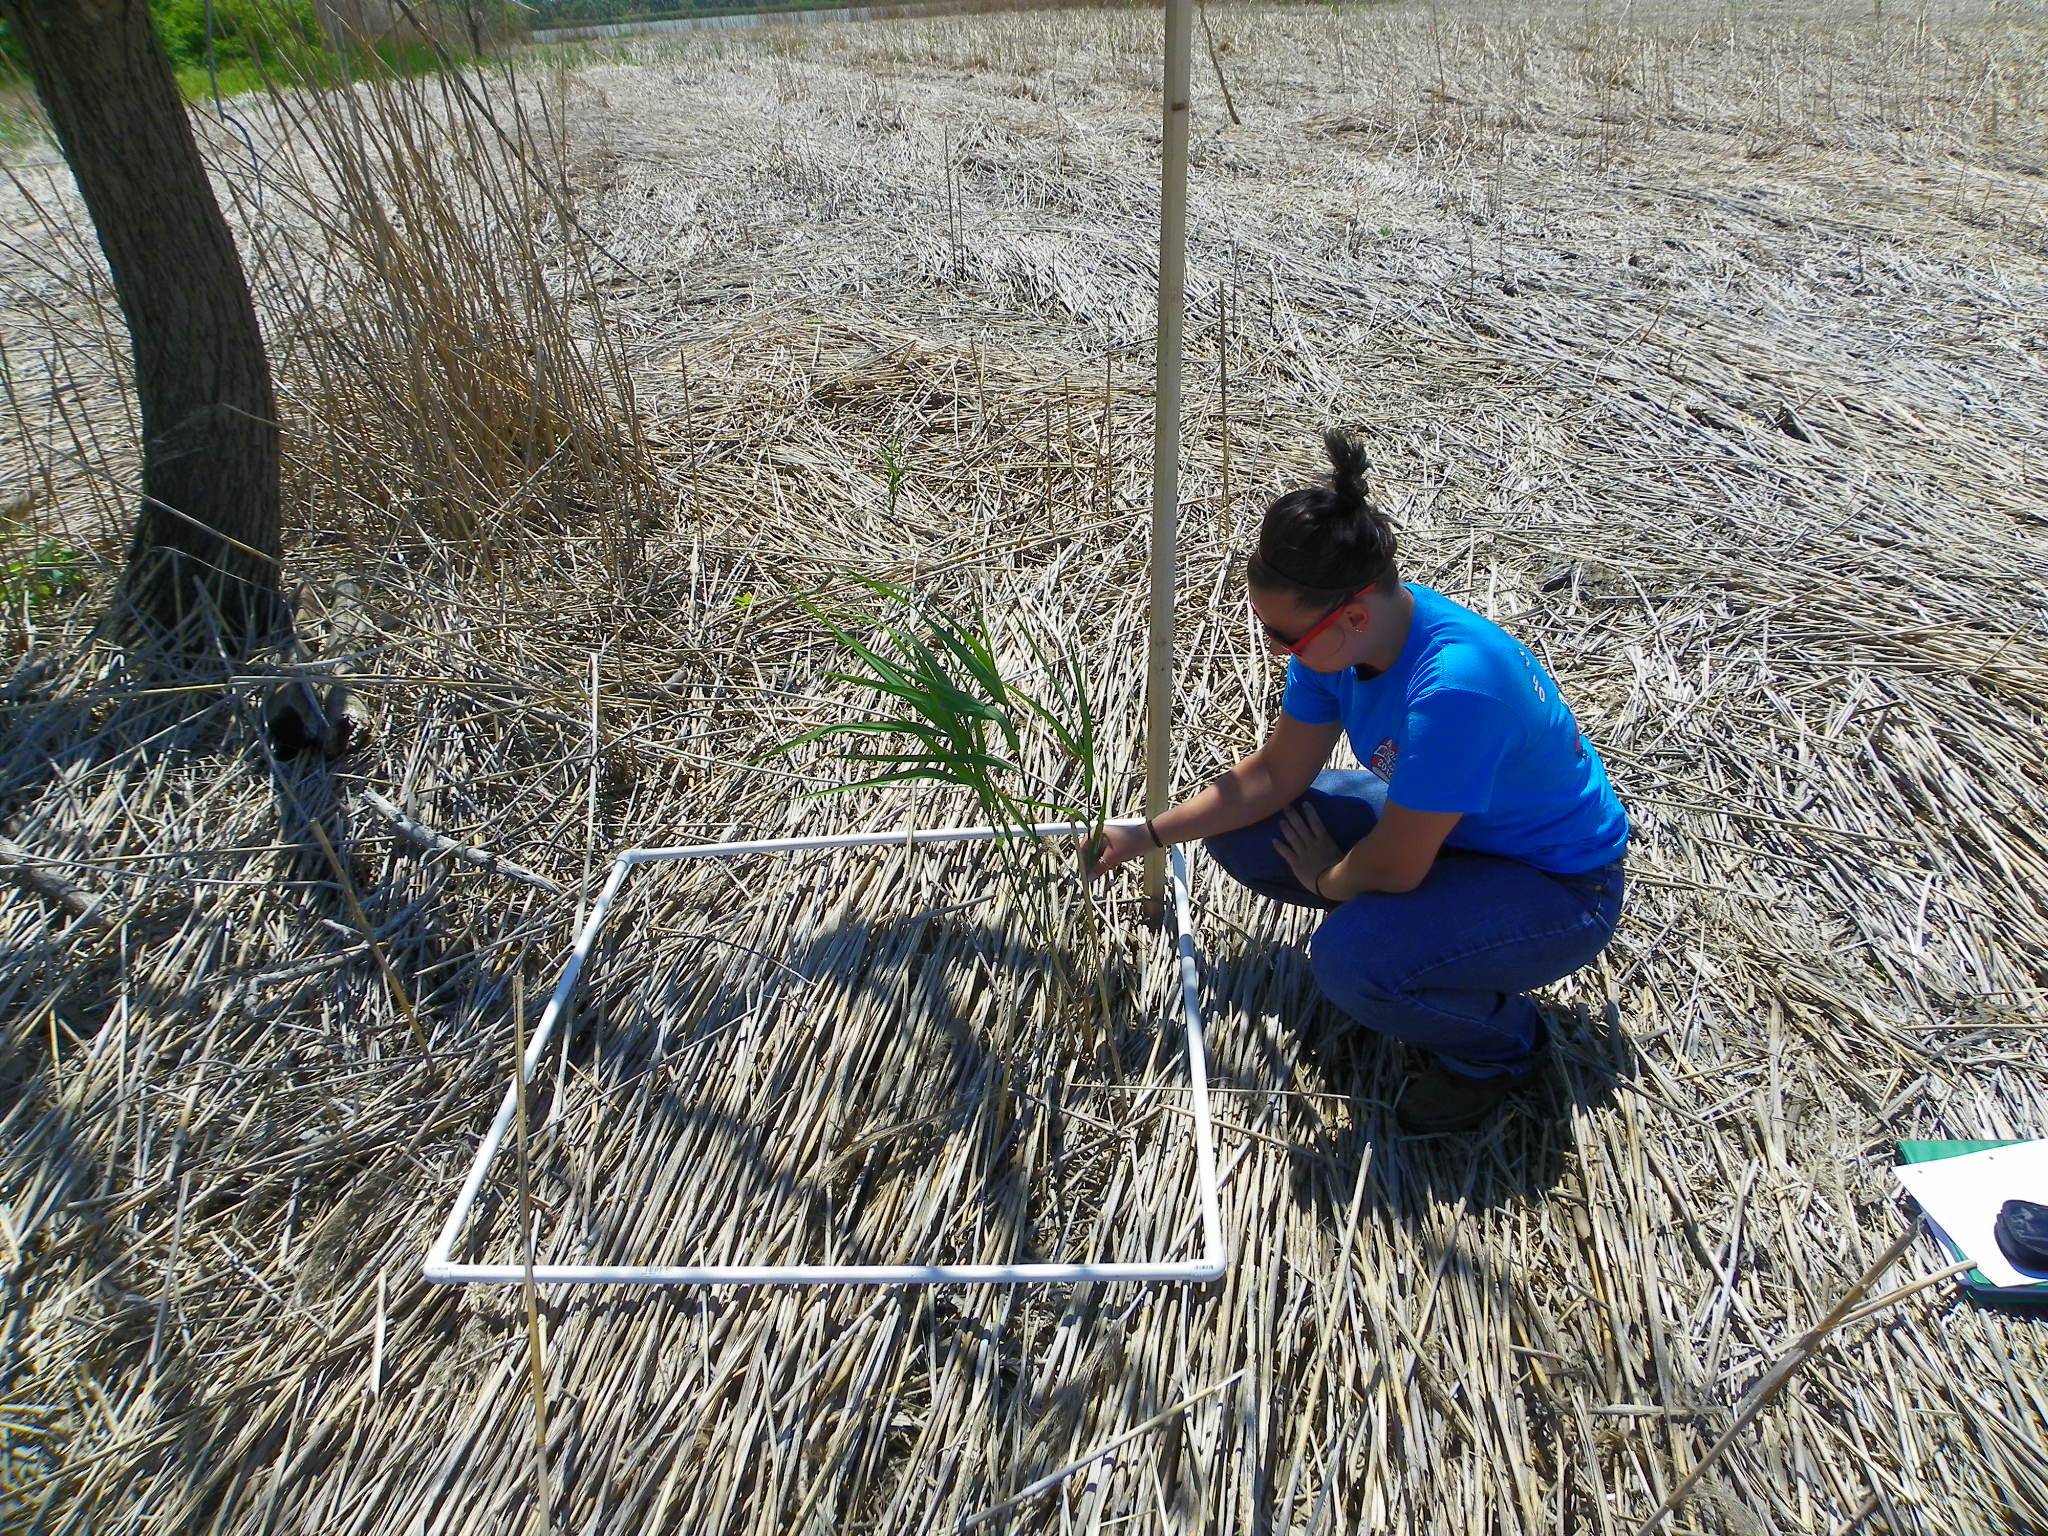
- Monitor the site according to your pre-determined protocol
- Analyze your monitoring data to determine whether the restoration work was effective and change your strategy as needed.
- Remove emerging invasive plants that colonize the site ahead of native vegetation.
- Return to the site for follow-up work as needed – note that it may take several years for native plants to fully establish at the site.